One Corner Went Wrong: How to Fix Part of a Generated Photo
When nine tenths of an AI product photo is right and one corner is not, you do not have to start over. Here is how to redraw just that part in imagvero, and the three places you can start from.
You generate a set of product photos, and one of them is almost perfect. The lighting works, the product looks right, the scene sells it — except the shoes appear to be hanging off a rail that no shop would ever use.
The usual answer is to generate again and hope. That spends credits on a whole new picture to fix a corner of one you already liked, and the next attempt changes everything else too.
There is a better move: keep the photo and redraw only the part that went wrong.
Frame it, describe it, done
Open the image in the repair workspace, drag a box around the flaw, and say what should be there instead.
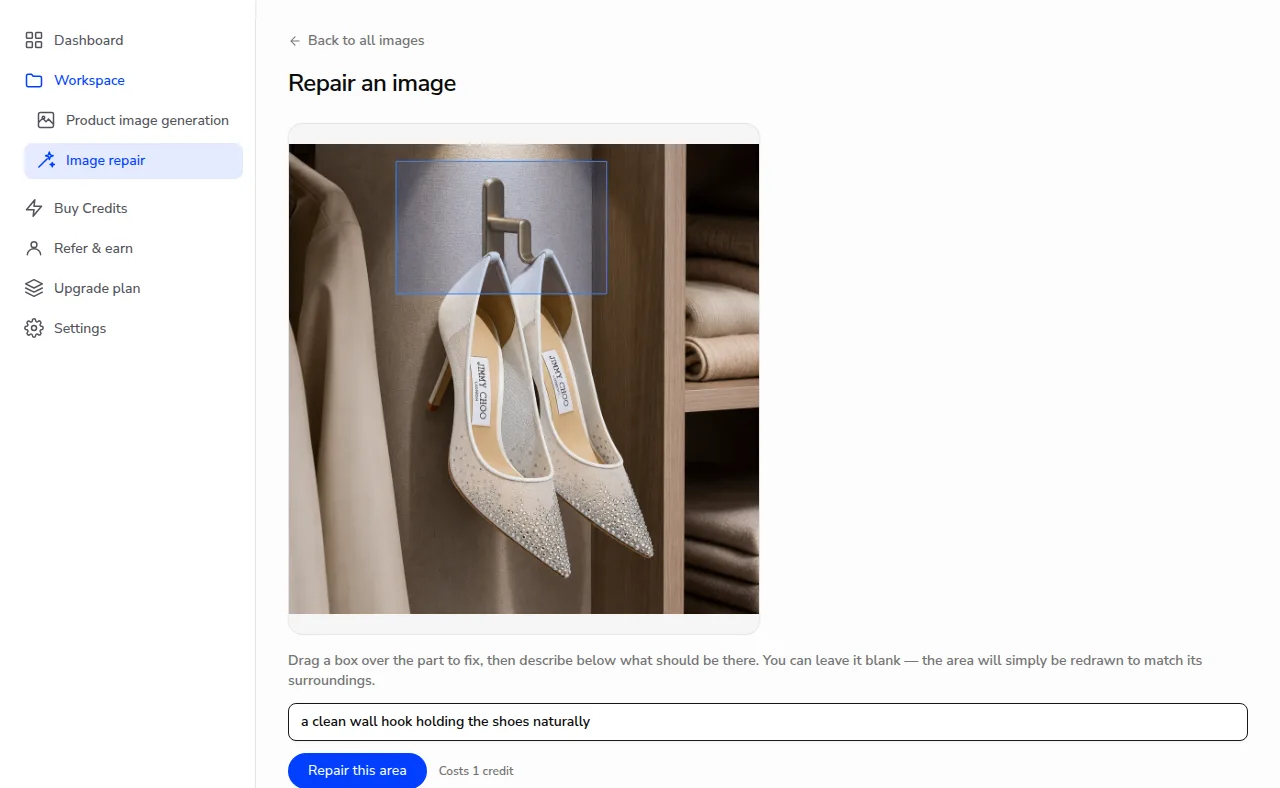
The description is optional. Leave it blank and that patch is simply redrawn to match what surrounds it — useful for a stray object, a smudge, a duplicated seam. Write a line and you get direction instead: a clean wall hook holding the shoes naturally.
One repair costs a single credit, the same as any other image.
What comes back
You get a before and after side by side, so you can see exactly what moved.
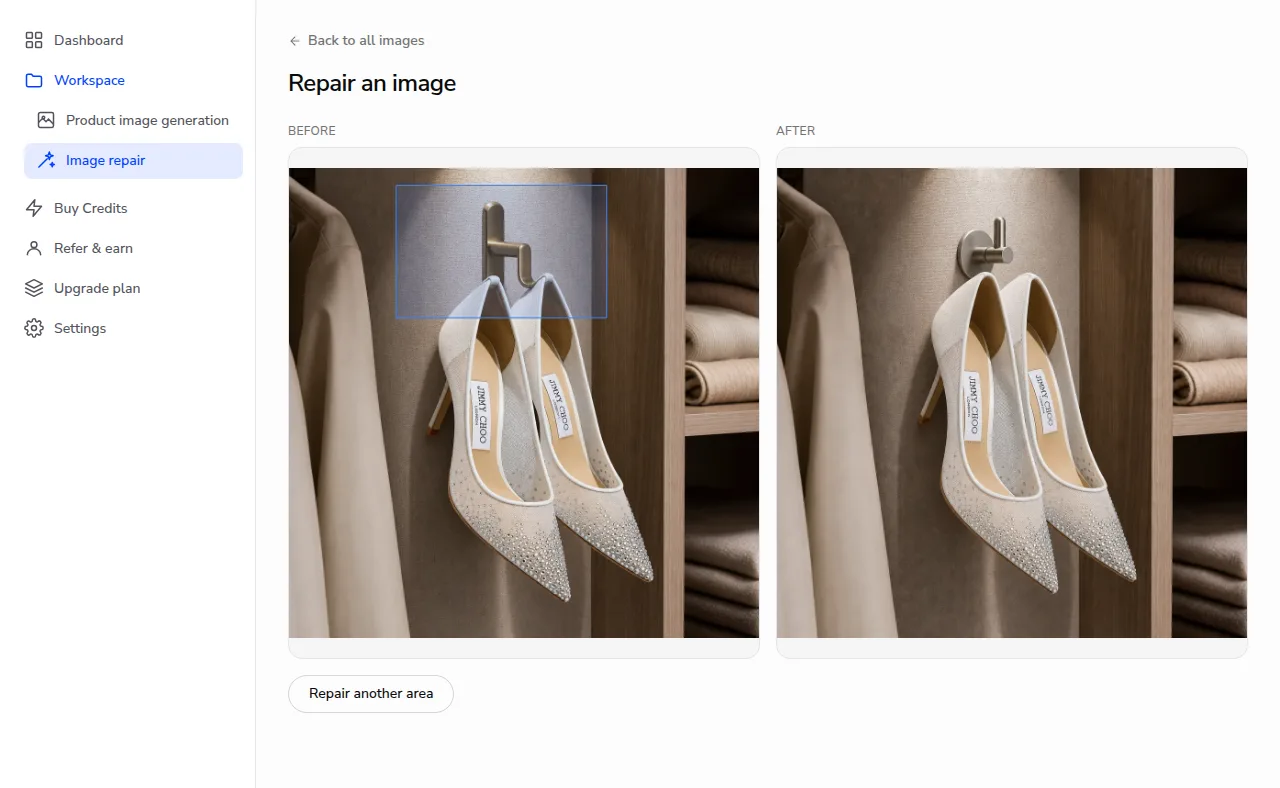
The rail is gone and the shoes hang from a hook that makes sense. The labels, the crystals, the folded knitwear on the shelf, the coat in the foreground — all still the photo you picked.
A word on how this works, because it explains what to expect. The model does not paste a patch onto your picture; it returns a whole new rendering that follows your selection. That is what lets the repair blend properly — the fixture changes, and the light falling from it changes with it, which no cut-out patch could manage. The trade is that the rest of the frame is redrawn faithfully rather than preserved pixel for pixel. On a printed logo or fine text you may see a hair of movement. For the fixture in the corner, that is a good bargain.
Three ways in
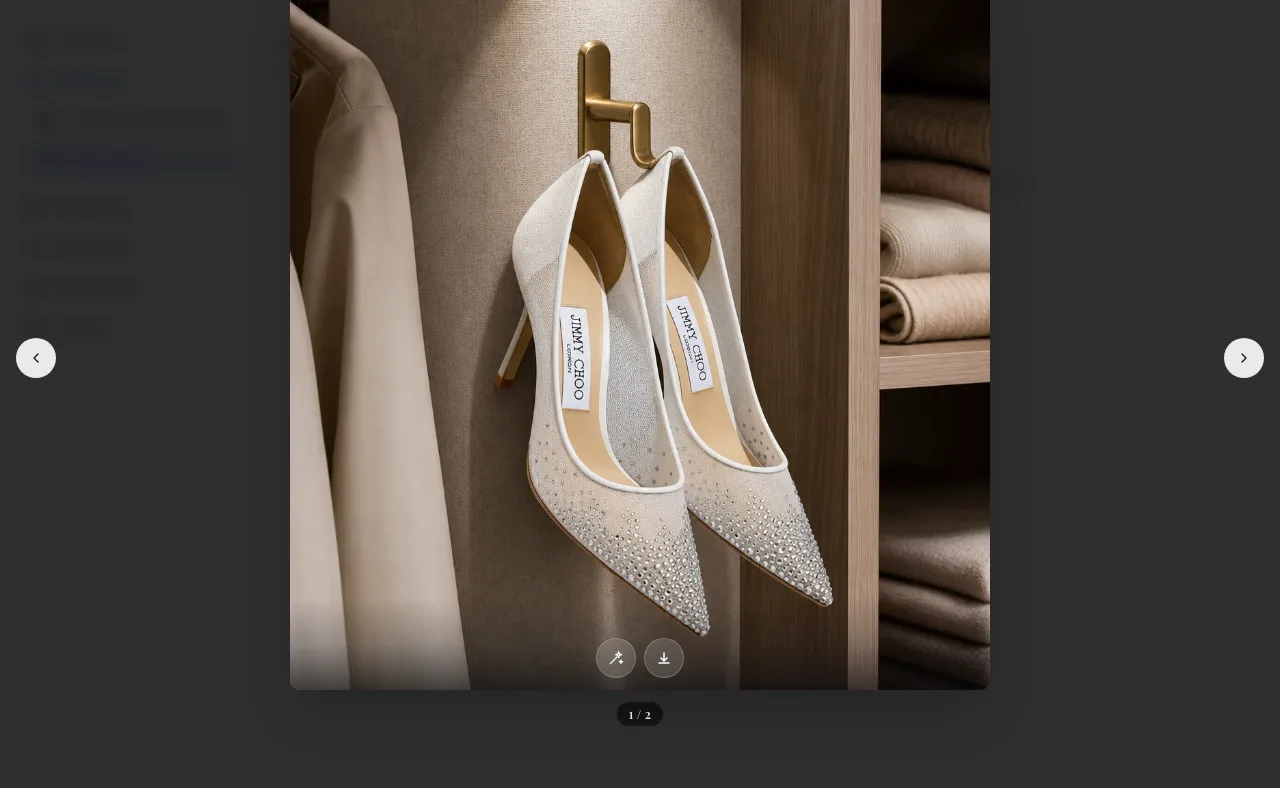
From the picture you are looking at. Every generated image carries a repair action, on the card and inside the enlarged view. If you spot the flaw while reviewing a batch, you can start from there without hunting for the image again.
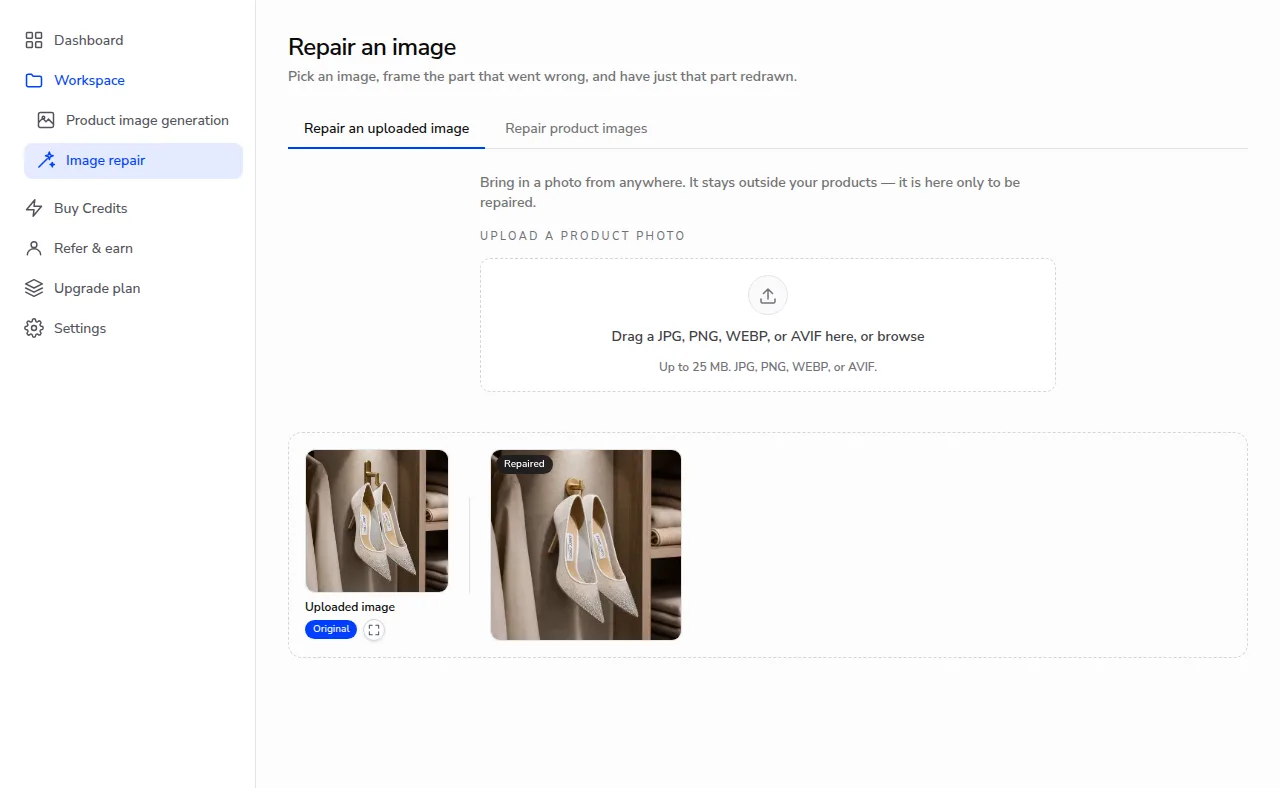
From the repair library. Image repair sits in the sidebar beside Product image generation, as its own tool rather than something buried in a menu. It lists your product images and everything you have repaired so far.
From a photo that is not ours at all. The library has a tab for bringing in an outside picture — a supplier shot, an old catalogue image, a photo from your phone. It stays outside your products; it is there only to be repaired.
When it works and when it does not
Repair is at its best on a contained problem: an object that should not be there, a fixture that makes no sense, a background that goes wrong in one corner, a surface that needs to be clean.
It is the wrong tool for a photo you dislike as a whole. If the framing or the mood is off, generating again is both cheaper and more likely to please you.
Two practical notes. Select generously — a box with a little room around the flaw gives the model somewhere to blend, while a tight crop leaves it drawing right up to a hard edge. And if a repair is refused by the safety filter, try it once more before rewriting anything; the check is not perfectly consistent, and naming a brand or a person makes a refusal more likely.
The point
A photo shoot does not get thrown away because one prop was wrong. Neither should a generated photo. Frame the part that failed, say what belongs there, and keep the picture you already liked.
Turn one photo into a full set
Upload a single product photo and get studio-quality scene, model and close-up images in seconds.
Try imagvero free