How to Make White-Background Product Photos Marketplaces Actually Accept
Amazon and most marketplaces sample your main image's background and want RGB 255 — not something that looks white. Here is how to produce one from a photo you already have, and the traps that get a listing bounced.
Nobody rejects your listing for a lifestyle shot. They reject it for the main image — the plain one on white, the only image most marketplaces have hard rules about. Amazon asks for a pure white background and states the value: RGB 255, 255, 255. Lazada enforces it on the main image, strictly for LazMall. Jumia lists it under main-image requirements. Takealot wants it on every image.
The frustrating part is that "white" is not a judgement call to them. It is a measurement. A background that reads white to you and grey to a sampler fails, and the rejection notice rarely tells you by how much.
Closing that gap is what imagvero is for. Upload the product photo you already took — on a desk, on a carpet, against whatever was behind it — and it gives back a main image whose background is not merely white but exactly RGB 255, the value the check reads. Your own framing is kept; only what sits behind the product is replaced.
The rest of this is what the platforms actually measure, why a photographed sweep and a generated one usually miss it in the same way, and how to produce a passing image in a couple of minutes.
What the checks actually look at
Automated checks sample the background — usually the corners and the border, well away from the product — and compare what they find to pure white. They are not looking at your lighting, your composition or your shadow. They are reading a number.
That is why the two most common failures are so boring:
- An under-exposed sweep. Your paper backdrop photographs at 240–250, not 255. To the eye it is white. To the sampler it is grey.
- A falloff in the corners. Studio light is brightest where it is pointed. The middle of your backdrop can be a clean 255 while the corners sit ten levels darker, and the corners are exactly where the sample is taken.
Both are invisible in a thumbnail and fatal in a review queue.
Why generated white backgrounds usually fail the same way
Ask any image model for "a pure white background" and look at the result in a colour picker. You will find 244 in one corner, 251 in another, a soft gradient across the middle. It looks right. It measures wrong.
This is not a bad model. It is what the request means to a model trained on photographs: photographs of white backdrops have falloff, so a generated one does too. Prompting harder — "seamless", "pure", "RGB 255" — narrows the drift without closing it.
So a prompt alone is not enough, and any tool that stops there is handing you the same rejection with an AI logo on it.
The way that works: generate, then force the value
imagvero does both halves. The colour you pick is written into the instruction the model gets, and then the returned image is corrected: the backdrop is flooded from the edges of the frame inward and set to exactly the value you chose.
Two details matter about that correction:
It cannot bleach your product. The fill only enters from the border and stops at the product's outline, so a white label, a white sole or a white panel inside the product keeps its own value. That is the difference between forcing a background and running a global "make white things whiter" filter, which is what ruins detail.
It knows when to stop. A white product on a white backdrop has no boundary for the fill to stop at. Rather than eat the product, the correction declines and the image is stored as the model produced it. You still get your picture; you just do not get the guarantee, and that is the honest outcome for a case no algorithm can read.
Doing it, step by step
1. Upload the photo you already have. Any background works — the picture is rebuilt around your product rather than the product being cut out of it, so a cluttered desk shot is no harder than a clean one.
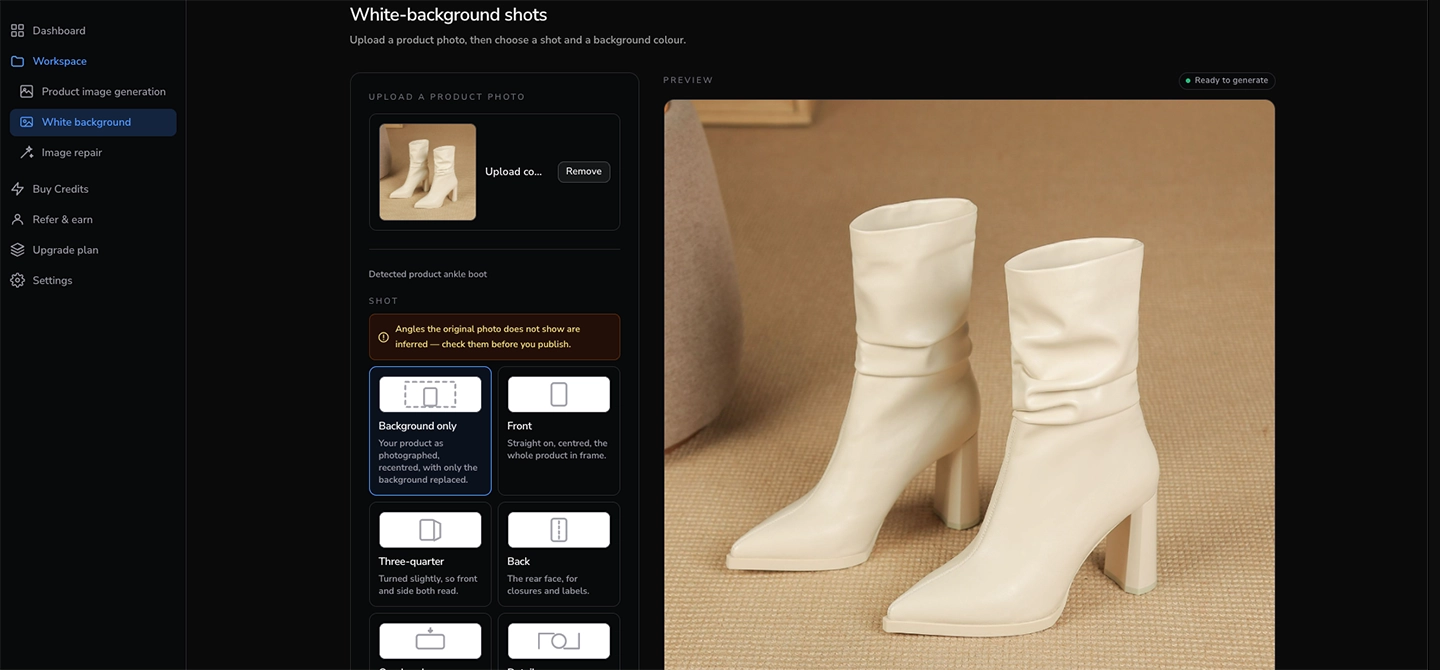
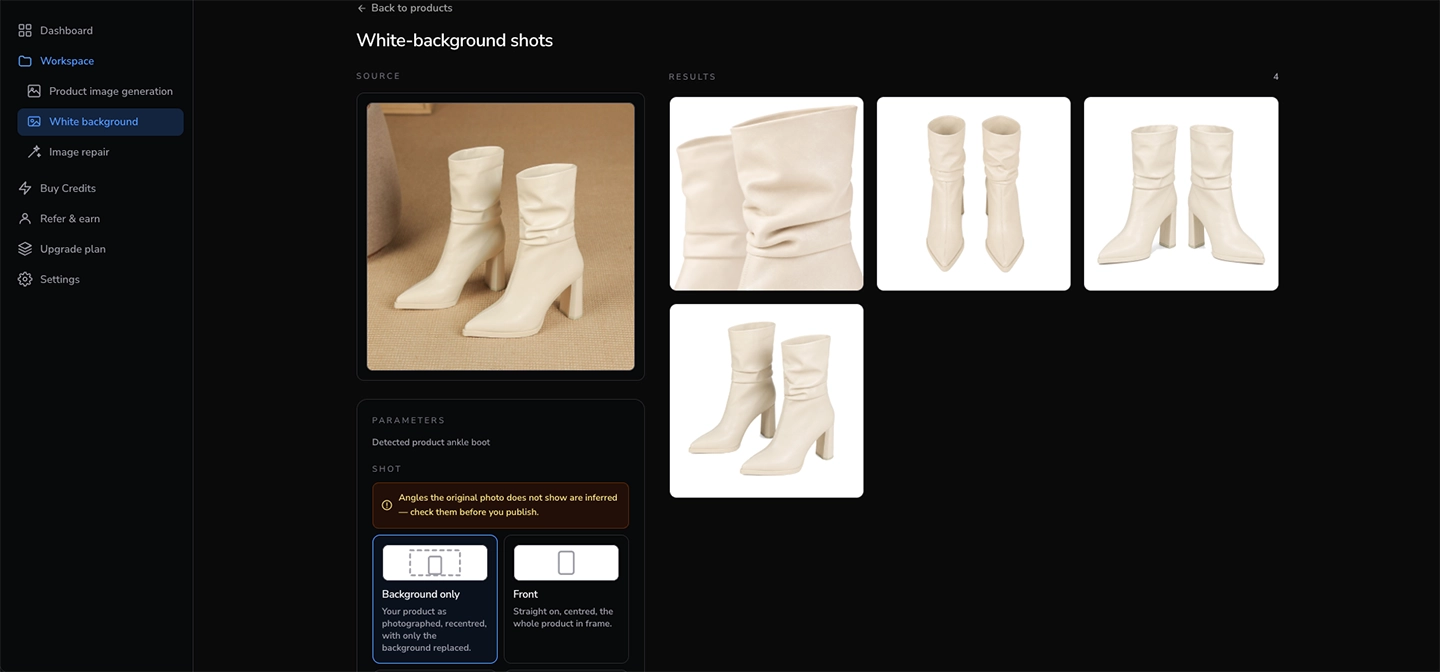
2. Choose "Background only". It is the first option for a reason: it keeps your own photograph — the same angle, the same pose, the same proportions — recentres the product in the frame, and replaces only what is behind it. Nothing about the product is re-imagined.
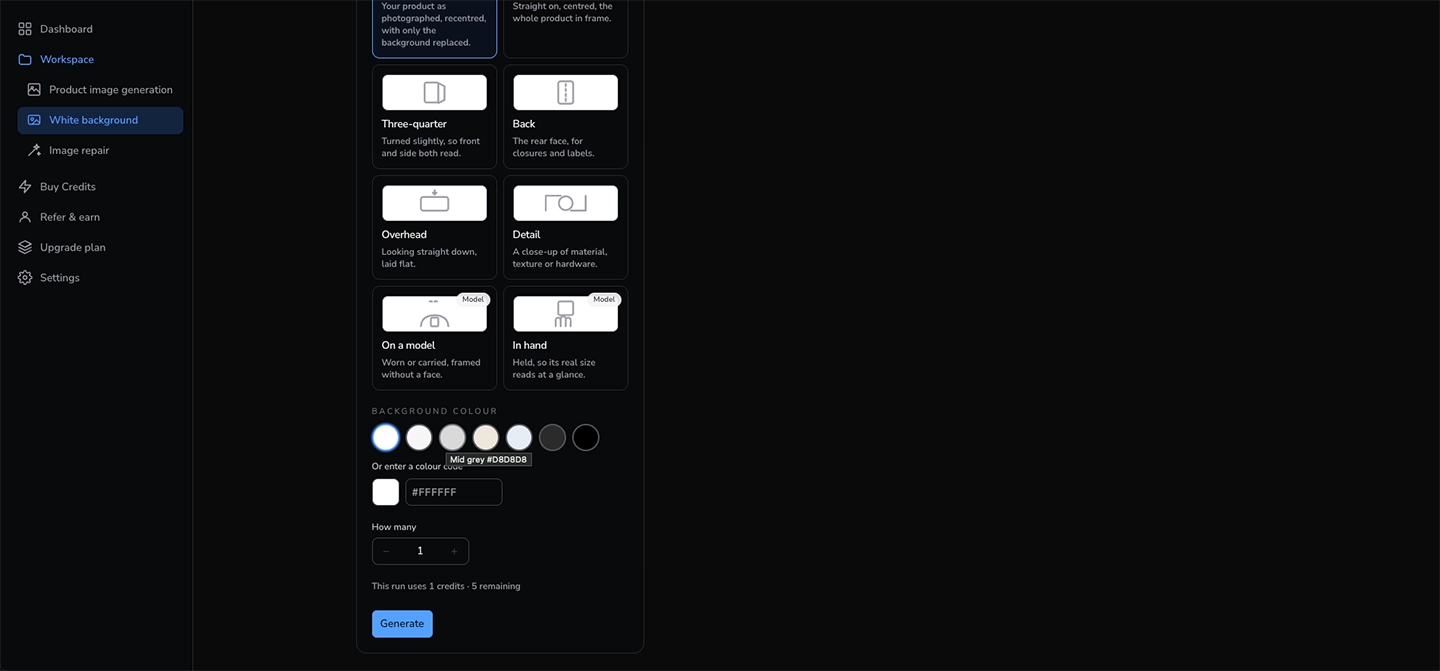
3. Leave the colour on pure white — or type an exact one. White is the default and the only colour a marketplace insists on, so most listings need nothing here. The swatches beside it cover the house styles sellers ask for on secondary images, and the field takes any six-digit hex: whatever you put there is the value the background is forced to, not an approximation of it.
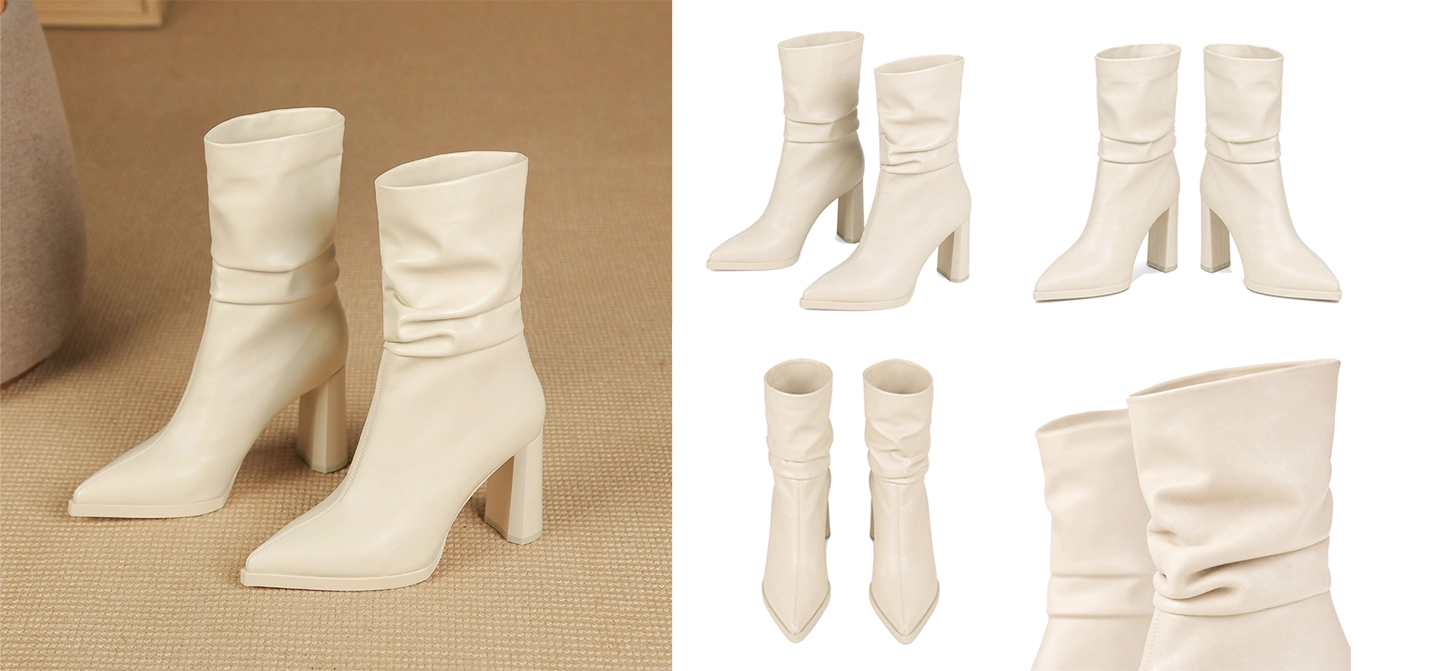
4. Generate, and check the corners. Open the result, save it, and put a colour picker on a corner pixel. It should read 255, 255, 255 exactly. If it does not, the correction declined — see the troubleshooting below.
5. Export at the marketplace's size. The export presets carry each platform's dimensions and file-size ceiling, and pad with the same colour rather than a blurred copy, so the corners survive the trip. A JPEG export of a flat white field stays 255 where it is sampled.
Choosing the other shots — and when not to
The other camera positions in the picker are generated views: front, three-quarter, back, overhead, detail, on a model, in hand. They are useful for the secondary images in a listing, where marketplaces allow far more latitude.
Be deliberate about them. A side your photo already shows is reproduced faithfully. A side it does not show — the back of a bag, the sole of a shoe you photographed from above — is inferred from what the model can see. On a platform that treats images as a description of the product, a fabricated back panel is a claim you did not mean to make. Use the generated angles where they help a shopper picture the item, and check any angle you did not photograph before you publish it.
The background-only option is the exception: it invents nothing, which is precisely why it is the one to use for the main image.
Troubleshooting
The corner is not exactly 255. The correction declined, and there are two usual reasons. Either the product itself is white or near-white and the background could not be told apart from it, or the model returned a textured backdrop instead of a flat one. For the first case, shoot the product against something darker so its outline is unambiguous — a mid-grey surface is enough. For the second, generate again; the fallback chain does not always answer with the same model.
The edges look like they were cut out. They should not: nothing is cut out. If a silhouette looks hard, it is usually the source photo — a flash-lit shot against a dark background bakes a rim of dark pixels into the product's edge, and that rim travels. A softer, more evenly lit source photo fixes it.
The product moved in the frame. That is deliberate on the background-only shot. The product is recentred with even margins, because where it happened to sit in your original photo is rarely where a catalogue wants it.
The shadow is gone, or too strong. A tight contact shadow under the product is kept — a product with no shadow at all floats above the page — while shadows cast onto the backdrop are not, because those are the ones that fail a background check.
The short version
Marketplaces measure your main image's background instead of looking at it, and both a photographed sweep and a generated one usually land near white rather than on it. Produce the shot from the photo you already have, force the backdrop to the exact value, and check a corner pixel before you upload. Everything else in a listing is persuasion; this one is a threshold.
Want a main image that measures 255? Try imagvero free — upload one photo and keep the shot you took.
If you would rather not measure and correct the backdrop by hand, the white-background generator fills it with the exact value you pick.
Turn one photo into a full set
Upload a single product photo and get studio-quality scene, model and close-up images in seconds.
Try imagvero free